So the animation on my geometry does not have any velocity, hence no motion blur could occur.
So I've tried at the end branching out with a timeshift sop, offseting the frame by 1.
Connect the main branch with the point sop and using the timeshifted as the second input.
I wanted to use the difference in point position of the next frame and the current frame as the velocity.
I use the expression on the velocity attribute
$TX2 - $TX, $TY2 - $TY, $TZ2 - $TZ
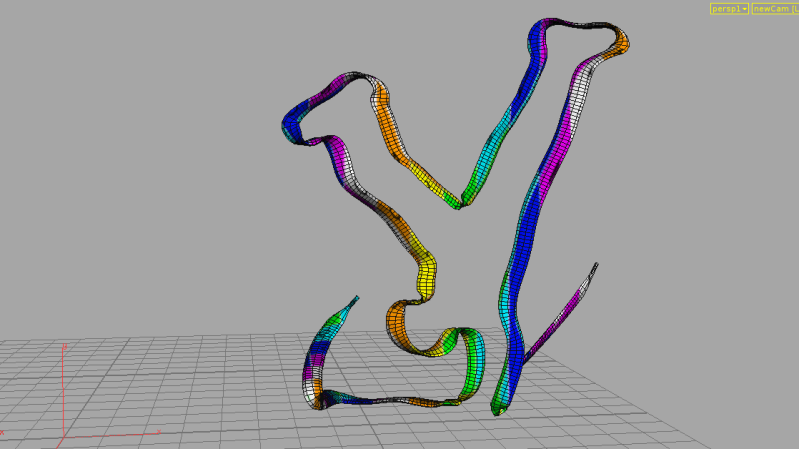
What happen tho was not what I was expecting, I was expecting the velocity to be point in the direction of the next frame. But instead I got a weird direction.
So this method would probably only work if the animation is traveling linearly.
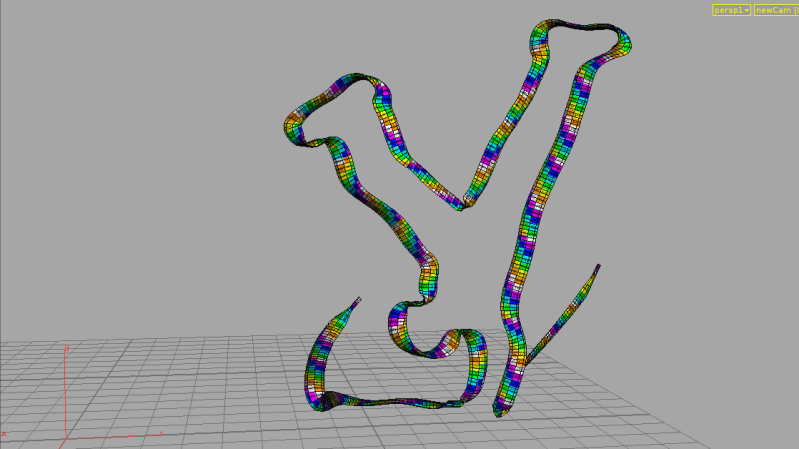
So I tried using the trail sop to compute the velocity.
Which I got the correct direction but the problem is the velocity grows over time and towards the end the motion blur was just too crazy.
So to fix that problem I append a vopsop to clamp my velocity so that it's within a certain range.
Inside the vopsop I get the point velocity attribute and connect it into the clamp vop and normalized it.
Everything works great but to further fine tune I wanted a velocity multipler so that I could control the motion blur's blurriness.
All I had to do was to append a multiply constant after the normalized vop.
Now I could change the value in the constant to tweak the motion blur.
Some test to compare displacement vs bump
And negative values vs positive values.
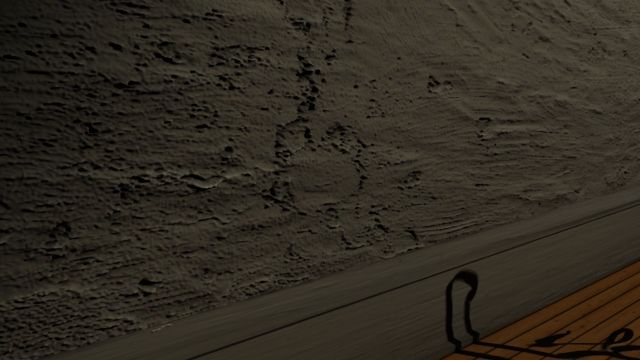
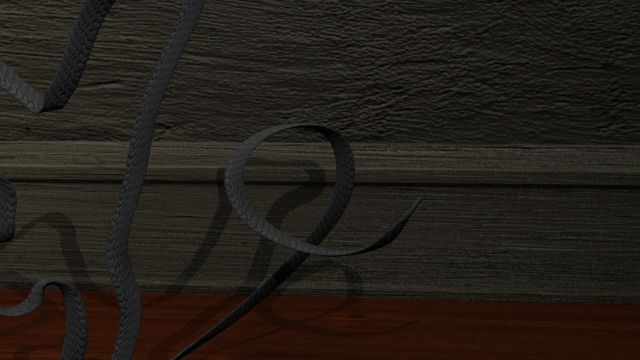
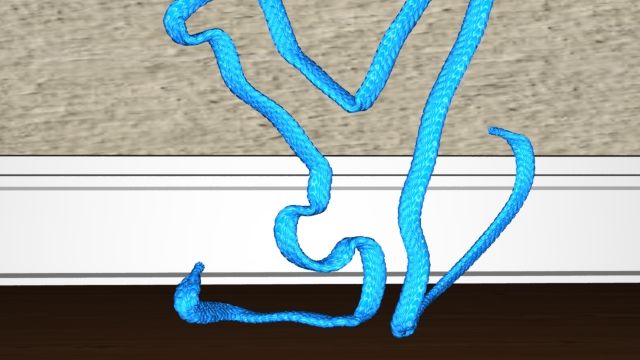
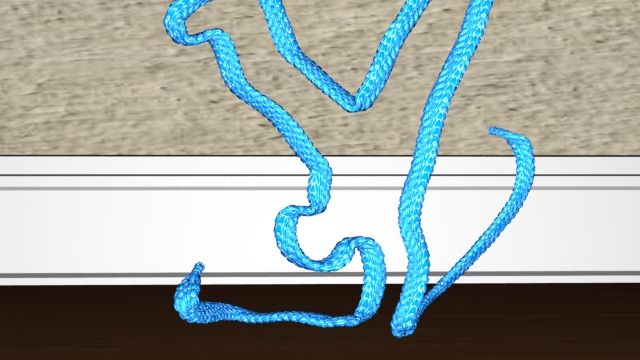
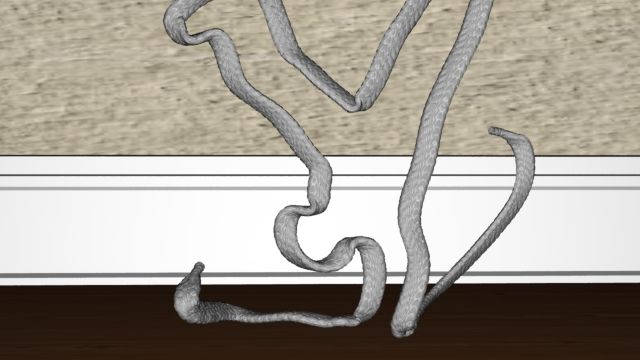
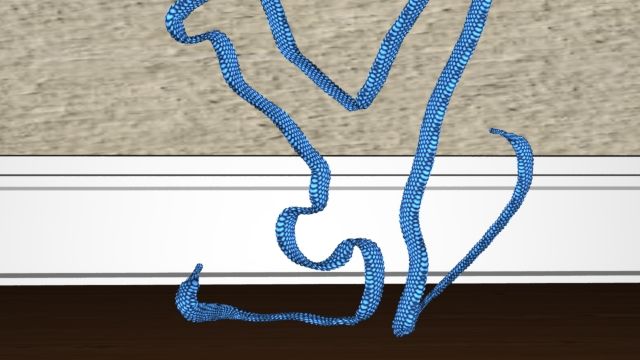
Far Shots
Negative True Displacement of 0.05
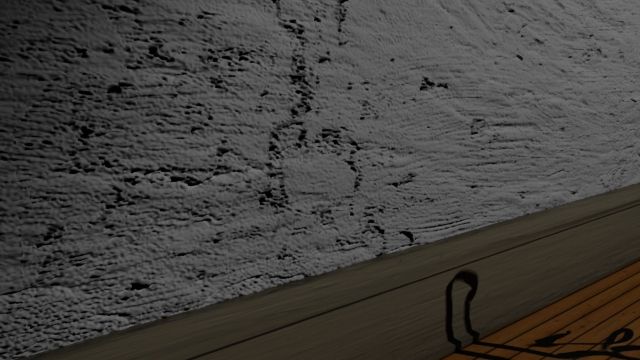
Positive True Displacement of 0.05
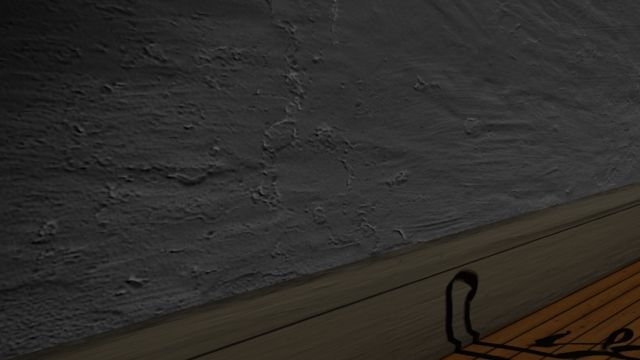
Bump map of 0.05
Positive vs Negative does not have much difference so I'll just use the negative one.
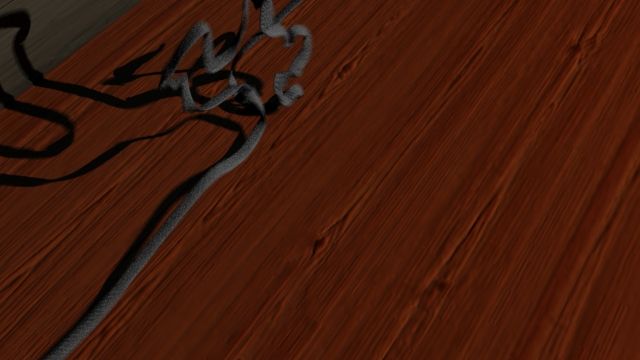
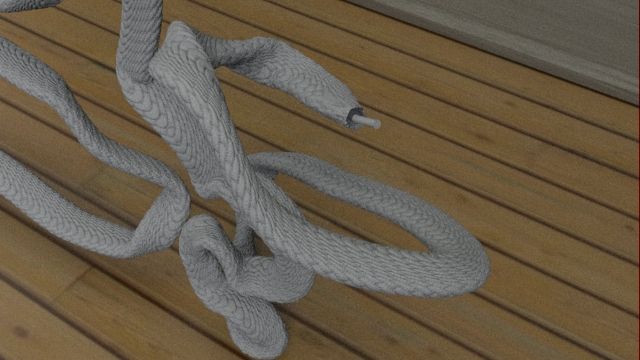
Close up shots
Negative True Displacement of 0.05
Positive True Displacement of 0.05
Bump map of 0.05