Friday, September 30, 2011

Day21: The light is my strength

30-09-11

Some reference images for the looks that I'm going for...
tbu...
Cool Link:
http://forums.odforce.net/index.php?/topic/10065-krakatoa-shader/
http://forums.odforce.net/index.php?/topic/11307-some-particles-tests/page__hl__%20%20krakatoa__fromsearch__1

Thursday, September 29, 2011

Day20: Yes Milord?

29-09-11

Follow up after I got the animation test done.
This time round to test my shader.
Just to check if the shader would break or not during animation.
Details on the shader is loss while doing far shots.
Close up looks fine tho...

Tested the technique out
There is twisting problems and shoelace was too short.
After increasing the length of the shoelace, I got inter penetration problem, geometry twisting problem, the shape loses details hence unable to form the shape properly.

Cool Link
http://vimeo.com/14955603
http://www.gcstar.org/index.en.php
http://houdb.t-vm.fr/?collec=0&model=list&filter=none&sort=idASC&p=2
http://www.sidefx.com/index.php?option=com_content&task=view&id=1050&Itemid=216

Wednesday, September 28, 2011

Day19: Work work...


28-09-11

Did a lighting tutorial.
  • The usage of shadow mask, similar to light linking technique.
  • A really good expression to note is * ^node_name, this expression will exclude only the node that is specified.
  • For the sun light, using a distant light is good and usage of shadows depends on the scene. Usually the depth map will work fine unless you want softer shadows.
  • For sky light, either area light or environment light.
  • Tweaking depth map. Increase resolution, shadow quality, pixel samples and tweak bias if you have to. A very small bias will help fix light leaks for interior lighting.
  • Fake bounce light with multiple spotlights. Low cone angle with a high cone delta.
After countless attempts at James approach, finally somehow I got it to work with my shoelace.


The problem I see now is the animation's speed, it have this auto slow down when it's moving on the curve. Kinda nice but it's unintentional.

During the curve part the geometry sort of give away the polygon sharp edge look. Probably adding more bones would fix it.

Tuesday, September 27, 2011

Day18: DreamWorks Animation tour

27-09-11

Today we went over to DreamWorks Animation studio
http://www.dreamworksanimation.com/

It's a huge place, lot's of people.
They even have their own Doctor and Nurses, so when you're sick you don't need to take a day off to see the doctor. Employees are even allow to bring their sick children there.

Their goal is to make their employees feel at home, the place is really awesome and equipped with loads of things like motion capture studio, audio studio etc

They feed their employees lunch as well. They have this cool place which is like a eat all you want place. But they do have operating hours tho.

Anyway back to project.

Today had a little review session with Ari, showed him my progress. I talked about the shoelace shader, the animation, the problems etc.

Worked on my pre-viz
No videos yet but coming soon.
For now just a few stills.


Might change to adding more shoelaces...

Cool Link:
http://forums.odforce.net/index.php?/topic/10928-hair-system/

Monday, September 26, 2011

Day17: {Insert Title}

26-09-11

Received a demo file from James and 3 demo files from Douglas.
Experimented with all those files, trying to understand what steps they took, why and how things works.
Kind of complicated.

The file from James have a very nice set up, the rig is able to follow the curve.
Geometry stays consistent, deformation wise.

The files from Douglas have very nice set up for secondary animations, giving the animation more complex animation after the primary animation.

Would be nice to combine both techniques and make to best out of both worlds.

I've been trying to implement James approach but failed. Lack of knowledge.

Did a simple test with live background.


Cool Link(s):

http://forums.odforce.net/index.php?/topic/6517-unofficial-displacement-rendering-challenge/

Linear workflow
http://joomla.renderwiki.com/joomla/index.php?option=com_content&view=article&id=137&Itemid=230


Friday, September 23, 2011

Day16: Moving forward

Had a little talk with Ari this morning.
The discussion time with the industry mentor needs to cut down.

Sum it up in 5 mins
What we got after the discussion.
What's the current week's progress.
What was the problems faced.

15 mins for him to help each of us.

That way the flow would be faster.

Ari also saw the test animation and mentioned that the shape should have a little hold and moving the camera so that the audience can capture the shape, instead of the shoelace constantly moving.

The shoelace's movement is too liquid like, shoelace should be more rigid.

Changed the length of the shoelace so that it's longer now. able to hold the shape.

 Edited the curve shape, trying to get a more rigid properties and possible bends on bends lol.

Timed the animation to have a pause so that the shapes stay.


Problems are the shoelace penetrates the ground plane.
Don't like how the body is moving when it's near the leg, weird movement.
Certain frames it still have sharp edges making polygon obvious.
Unable to see the detailed shader.
Not enough frame to see the second shape.

What I like tho is the shadows are kinda like a second indication of the shape.

Added a skateboarder shape.
Gotta move on with other stuffs first since I'm stuck on animation again.

Test render
tbu

Thursday, September 22, 2011

Day15: Day woohoo

This morning showed my shader progress to Pamela san as At was sick(We got a At down, we got a At down!)
Her comment was that the shoelace doesn't look cloth like. Looks like a hard surface, doesn't feel soft.

Which reminded me that I've forgotten to tweak the parameters on the surface model.
So this time round I've added specs
Now it somehow feels like scales...
Any suggestions would be great!

Gonna continue on my animation task...

Updates!
This time round got a better test render.
Now the shoelace shader doesn't really shine...
Might be the lighting?
Gonna test out on the actual shaped curve instead.
After many tweaks, creep sop is really hard to figure out...
Now as the viewer, I don't see any specify shapes being formed.
It's like a trailing movement only.

Gotta figure out how to make the shapes more visible...

Wednesday, September 21, 2011

Day14: Creepy creep, creeping up a curve

Got an email from Mr Michael.
He provided a solution to my tip and body breakage problem.
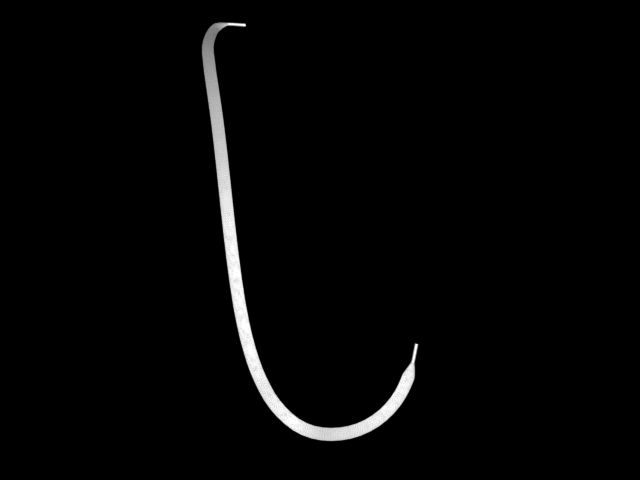
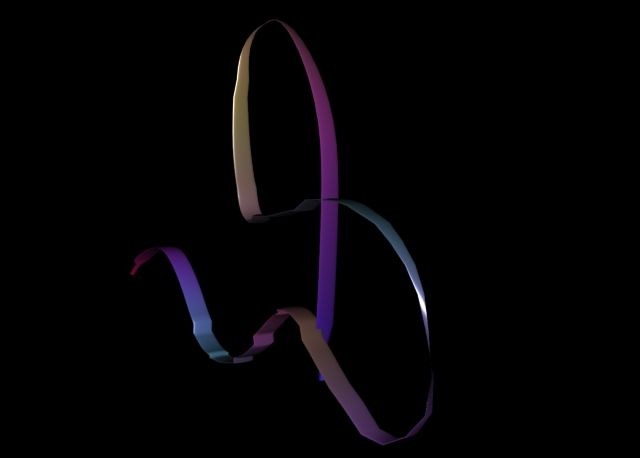
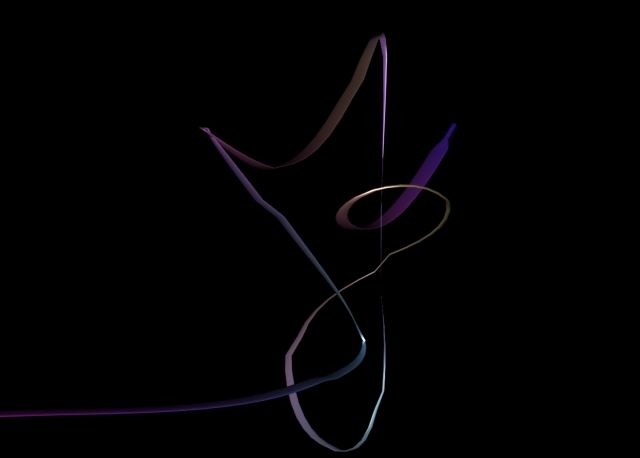
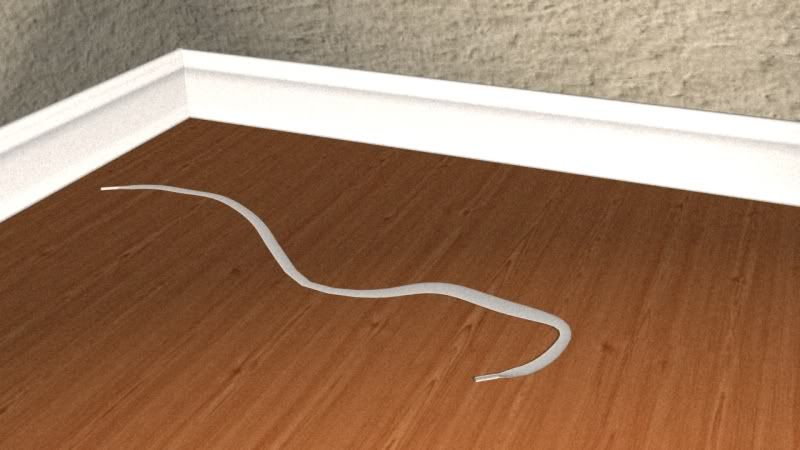
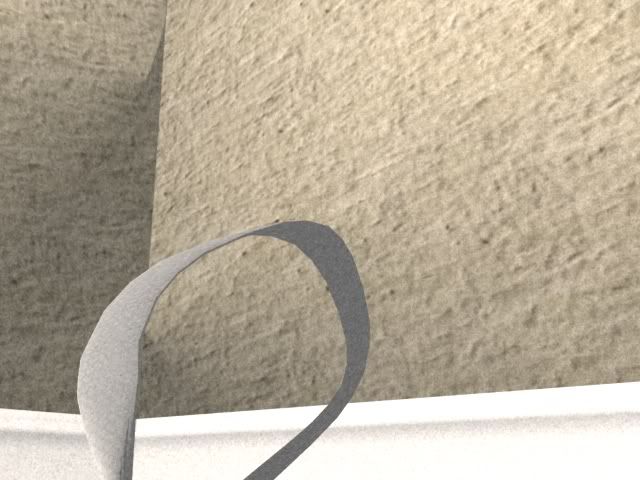
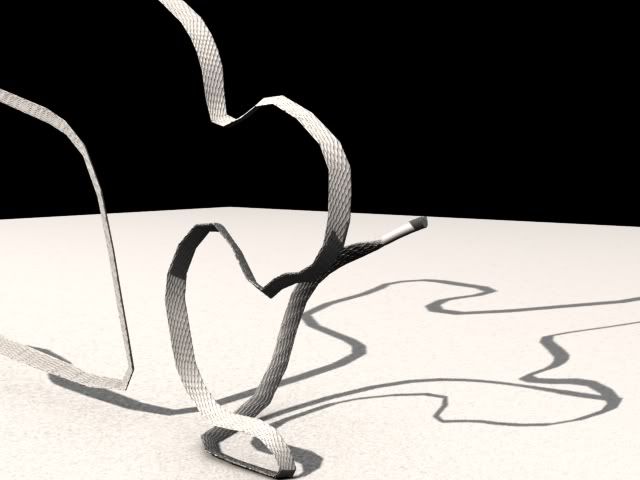
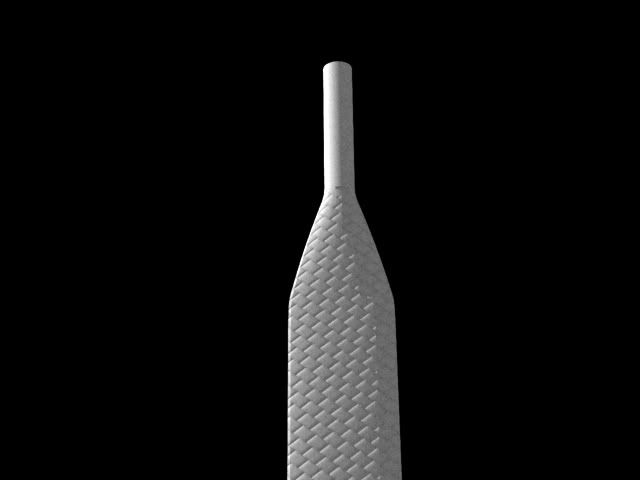
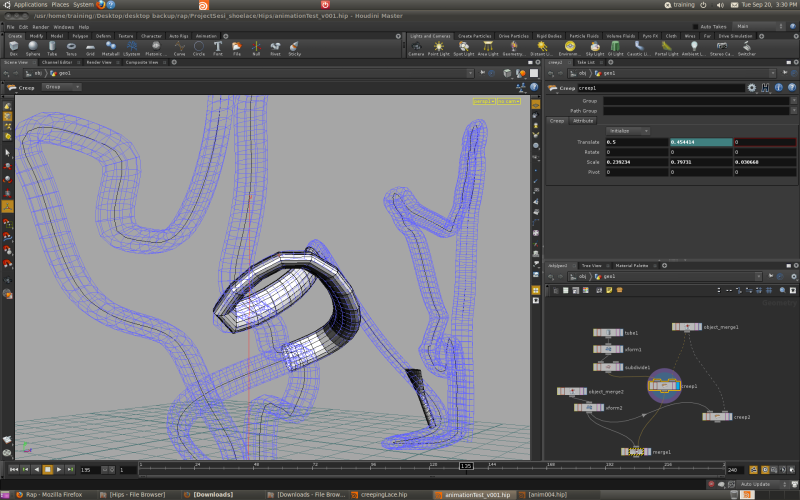
He edited the tube that forms the body to shape like a tip.

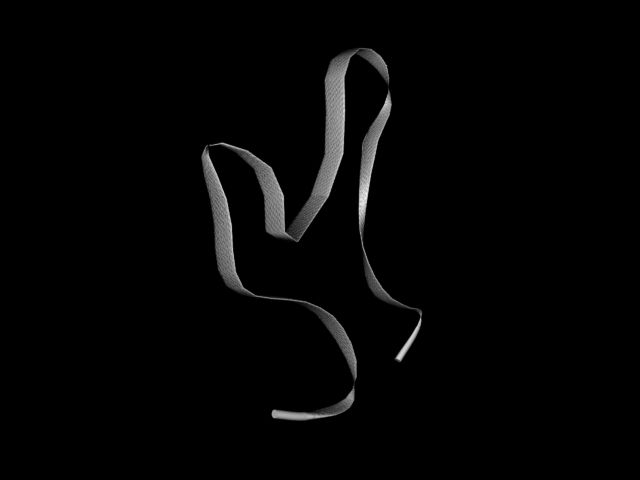
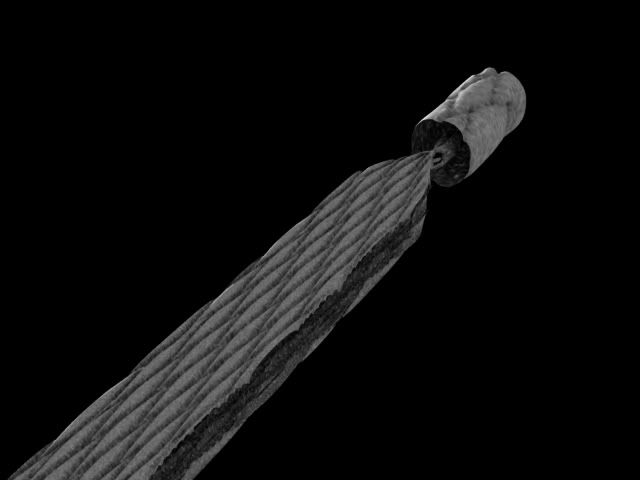
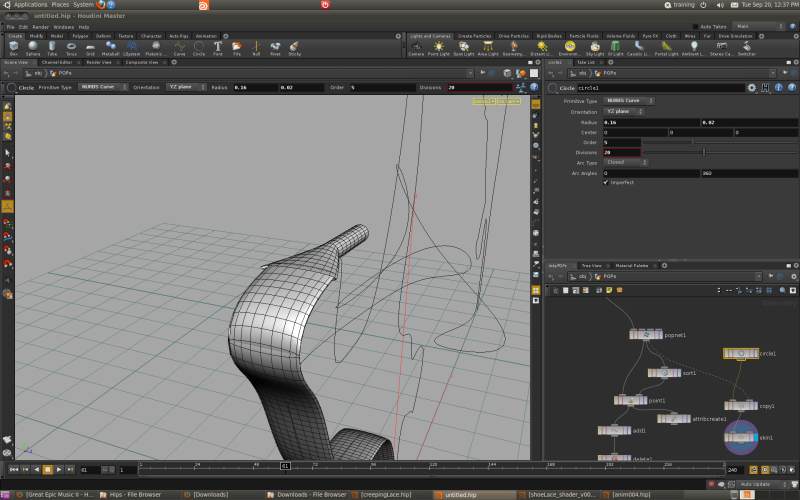
But when I give it a shot, the shoelace doesn't closes on the sides...
All kinds of weird results...
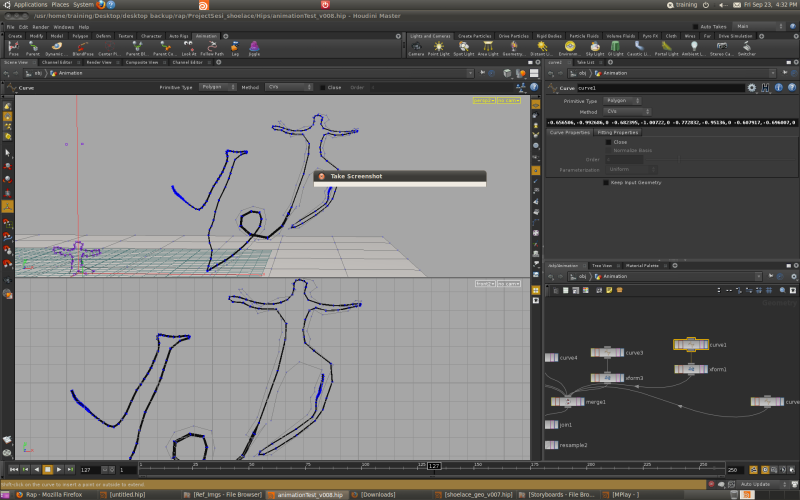
Creep sop is so "creepy"

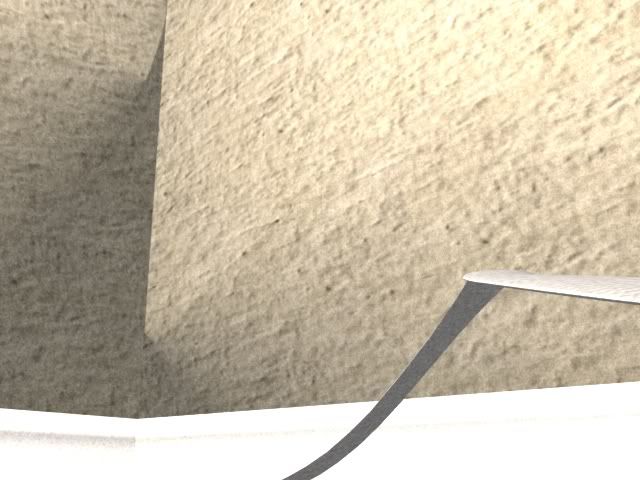
This is the point where it's stuck and frustration kicks in...

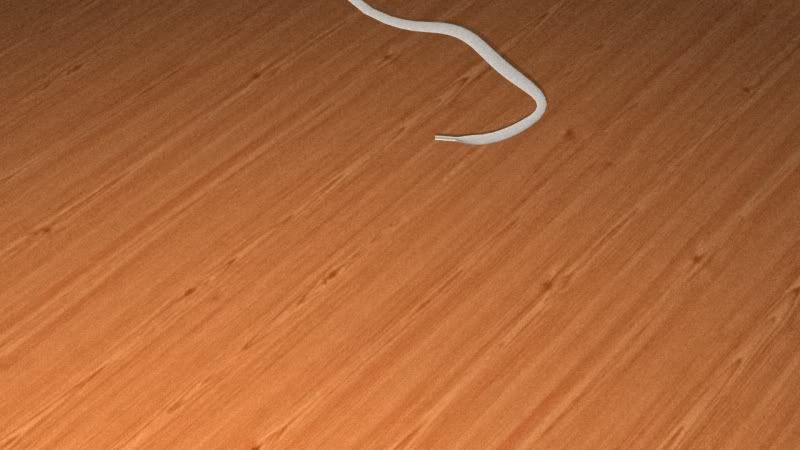
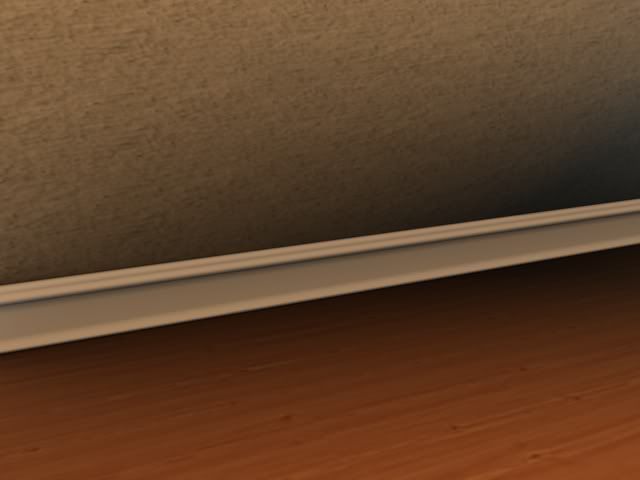
Moved back to shader.
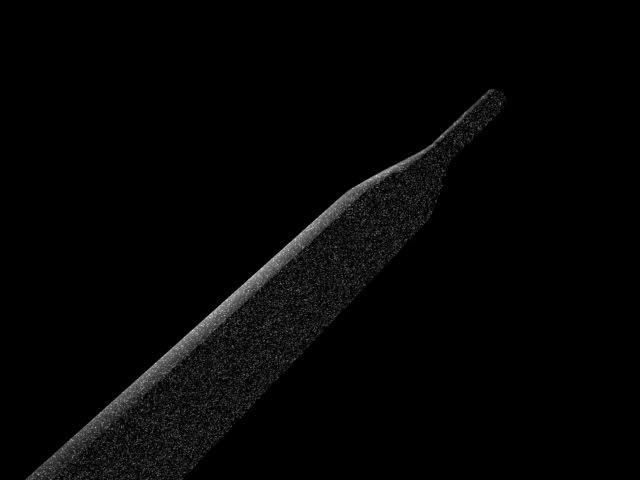
Problems that I've encountered.
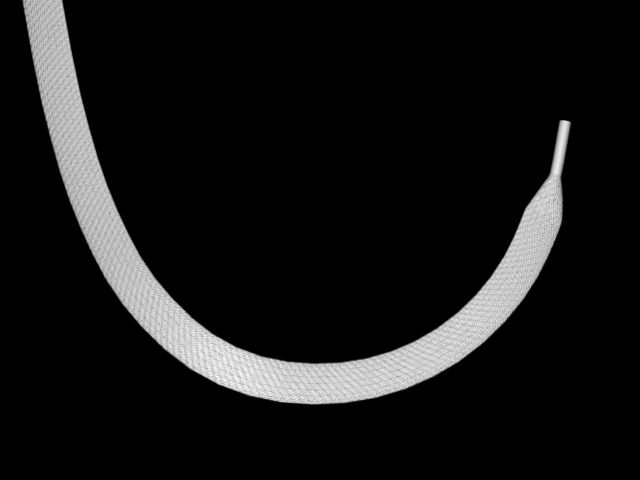
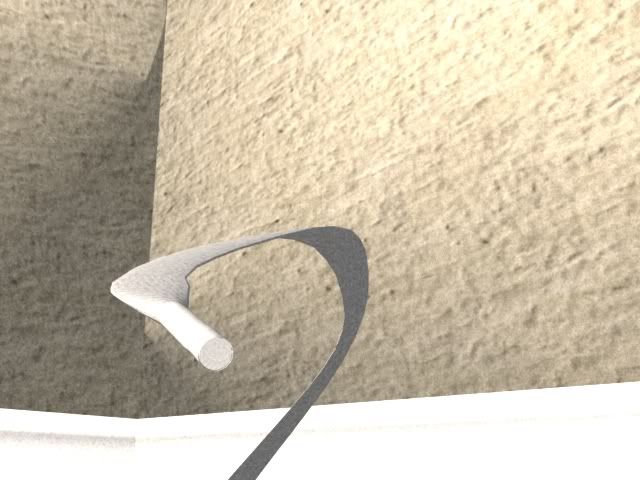
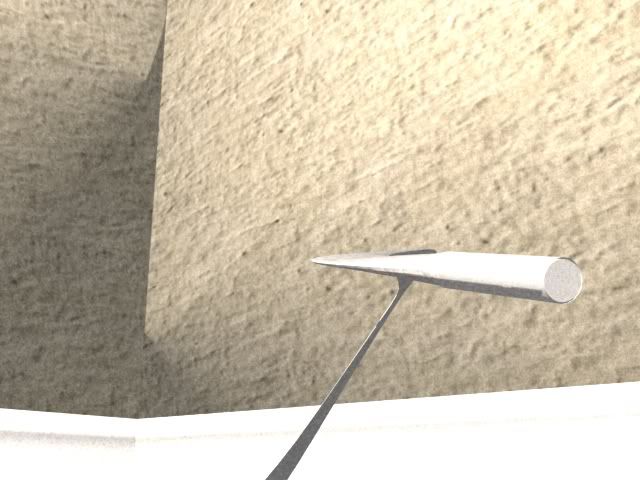
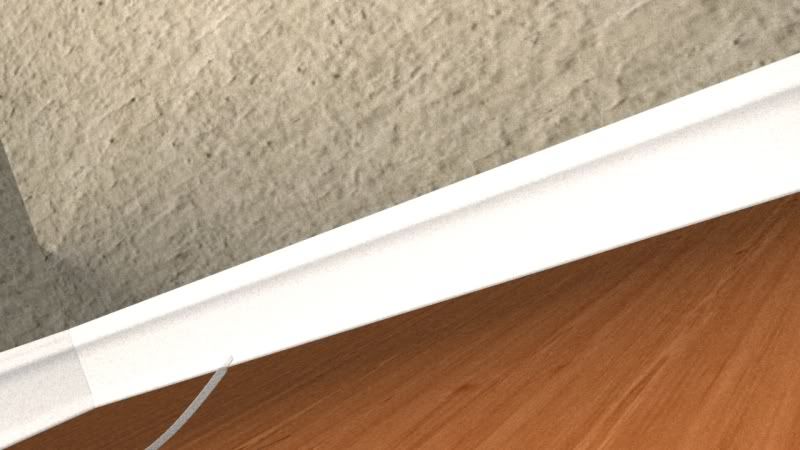
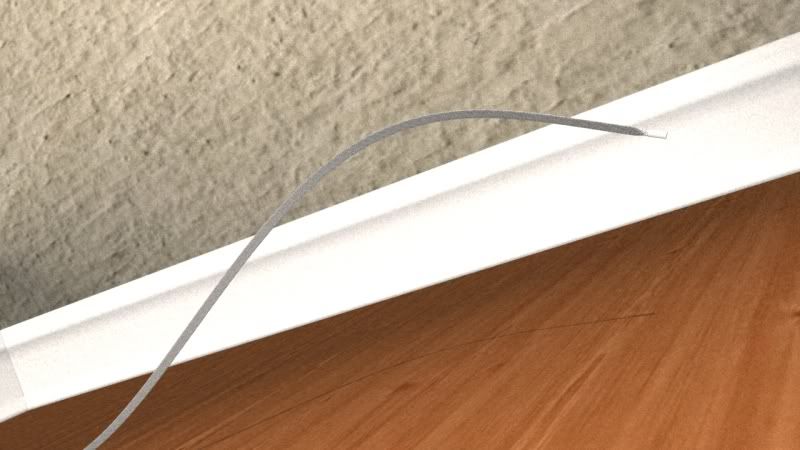
This is a displacement issue, displacement value too big. A quick turnaround was to have a different displacement value for the tip.

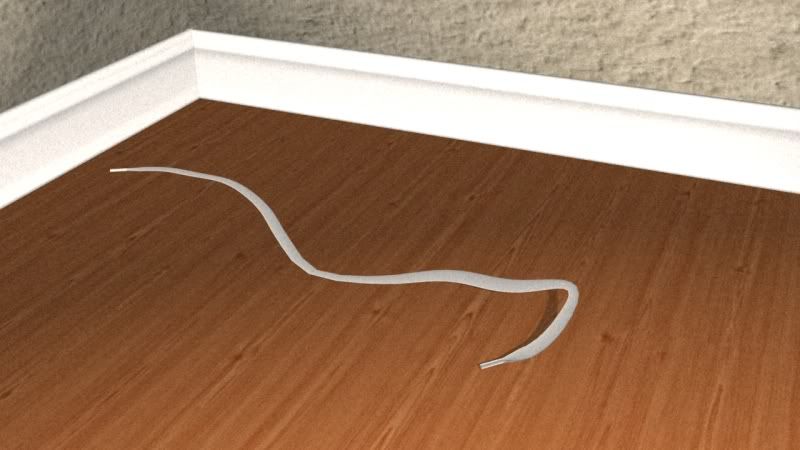
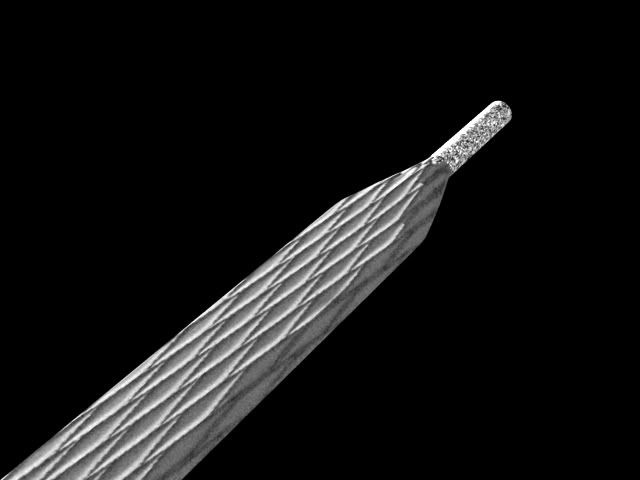
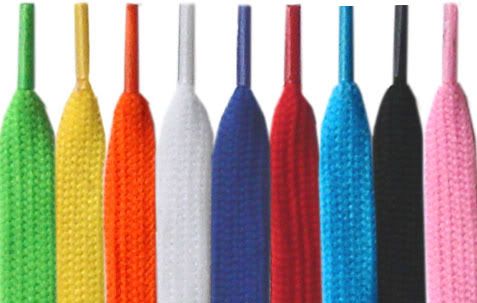
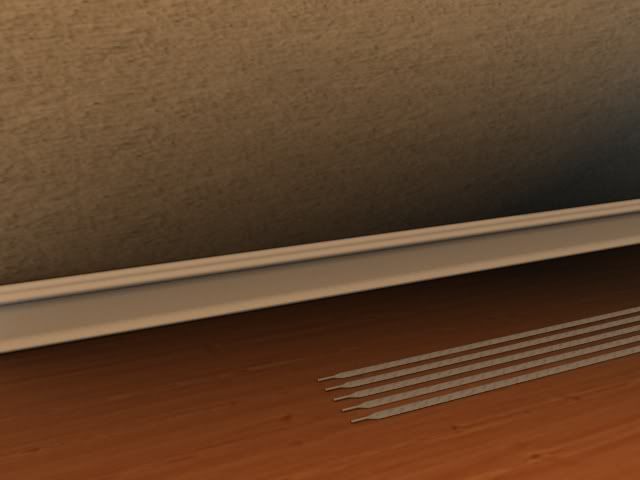
Concept of applying different material to different parts of the shoelace.
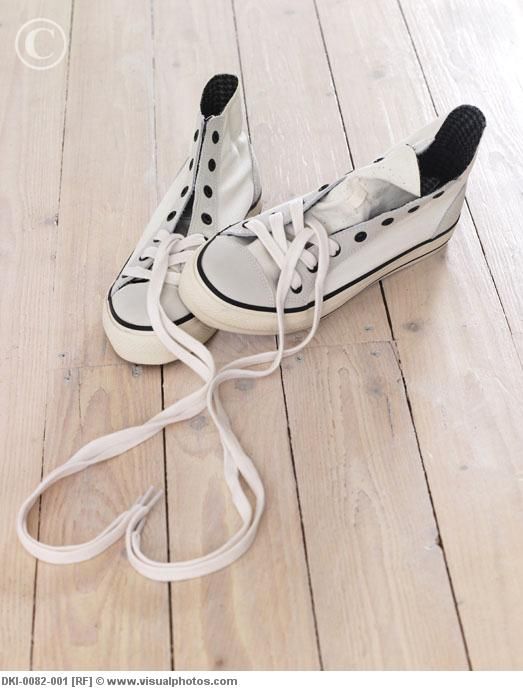
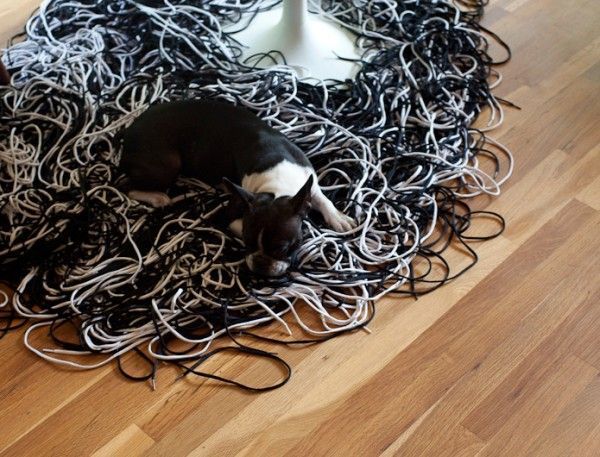
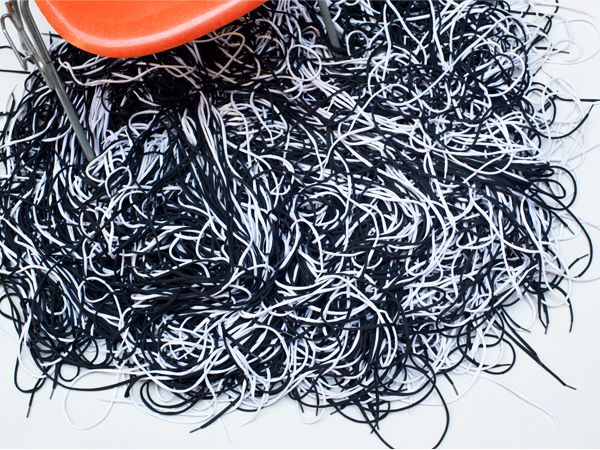
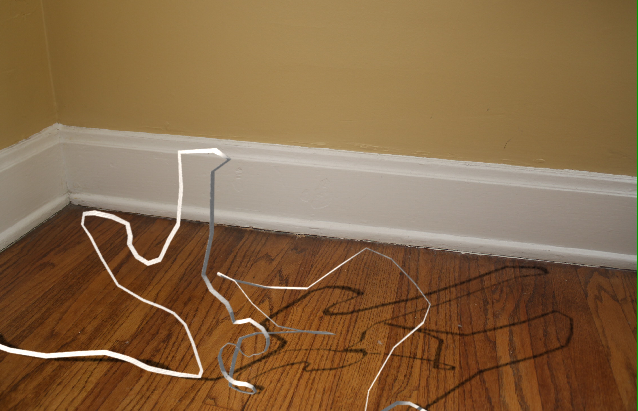
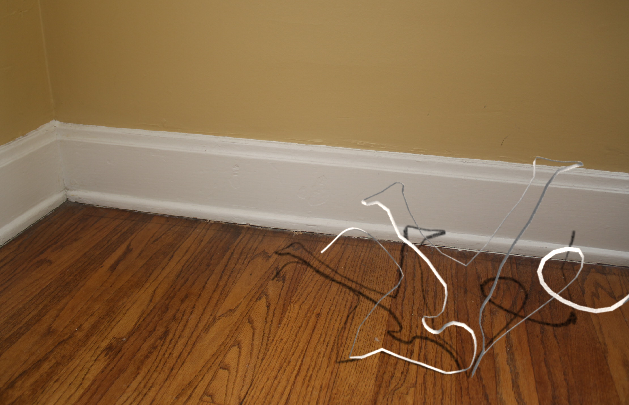
My reference
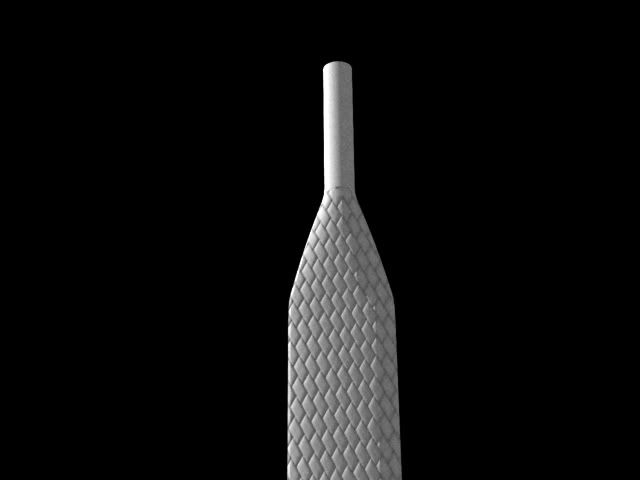
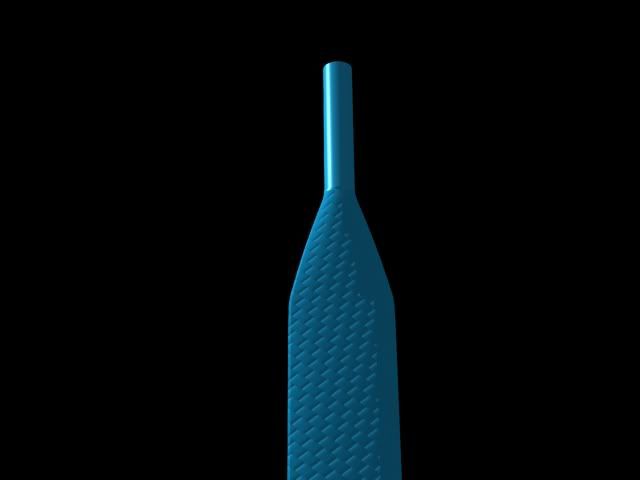
Next is to work on the plastic shader for the shoelace tip!

While working on the shoelace tip plastic shader, mplay crashed.
Only managed to save out a few test.
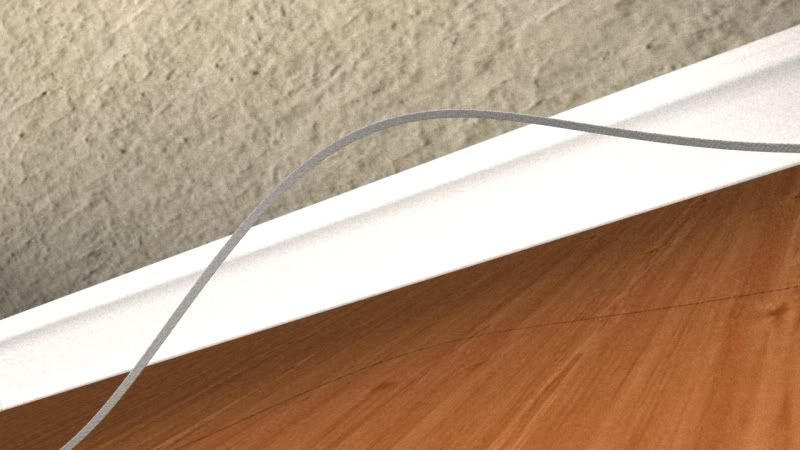
Testing the specularity...

Thats it for now...
Had a review session with industry mentor, James Kirk.
He was saying that by using the generating body method could cause swimming texture problem.
One thing I could look into is getting the point position on a curve, using that data to drive my rig controls so that it automates and bind the controls/bones to the curve. That way I won't have to do as much key frame animation.

He was also saying that in production, the faster you can output something the better.
The more time you have to go back and troubleshoot and the decision making process would be a lot easier.

Later the day Jeff Wagner, was holding a session in the side effects office.
Mainly on RBD, it was like a QnA.
Highly highly technical.

Also link to a awesome site:
http://brandonriza.com/3DVisualEffects/HTML/3DVisualEffects.htm

Tuesday, September 20, 2011

Day13: Karate CHOPS

Today received an email from Mr Michael Ng, He posted a solution to my animation problem.

His approach is using the creep node, creeping my shoelace along a surface which is drawn out by curves.

Amazing how many solutions there is, all coming in all at once.
Felt enlighten, haha.

Also started watching tutorial on CHOPS, I started off with Peter Quint's CHOPS and Music driven animation.
http://vimeo.com/6930074

Some things to take notes are
  • Viewing of motionFX curves requires motion view instead of channel editor.
  • To view multiple curves, shift clicking on the display flag of the other nodes.
  • To split the view, on the graphs tab choose 2 graphs and graph per chop.
  • MP3 format are supported but only up to 128k bit rate.
  • To listen to the audio, click on the audio panel, scrub tab, under the chop channel reference the file node. Make sure real time playback is checked.
  • Usage of the "pass", "envelope", "trigger", "pitch" and "limit". Enables the isolation of frequency and different channels usage.
  • Referencing chop path eg "chop("/obj/chop/node")
On to my project.
Right now the solution is to have the shoelace tip animate along a curve, generate the body procedurally to follow the curve.

The problem is the tip and body are seperated.

Even after offsetting the position
The tip and the body have joining issue.

After many hours of test on different approaches.

The creep method has a nice deformation but timing the animation to follow the tip is still a problem.

Anyone have a smart way where I could transform my shoelace tip to the top/lead of my shoelace body?

Stuck for now, time to move on to some other stuffs first.

Test renders...

That's all for today.